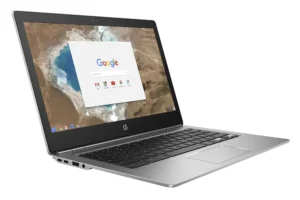
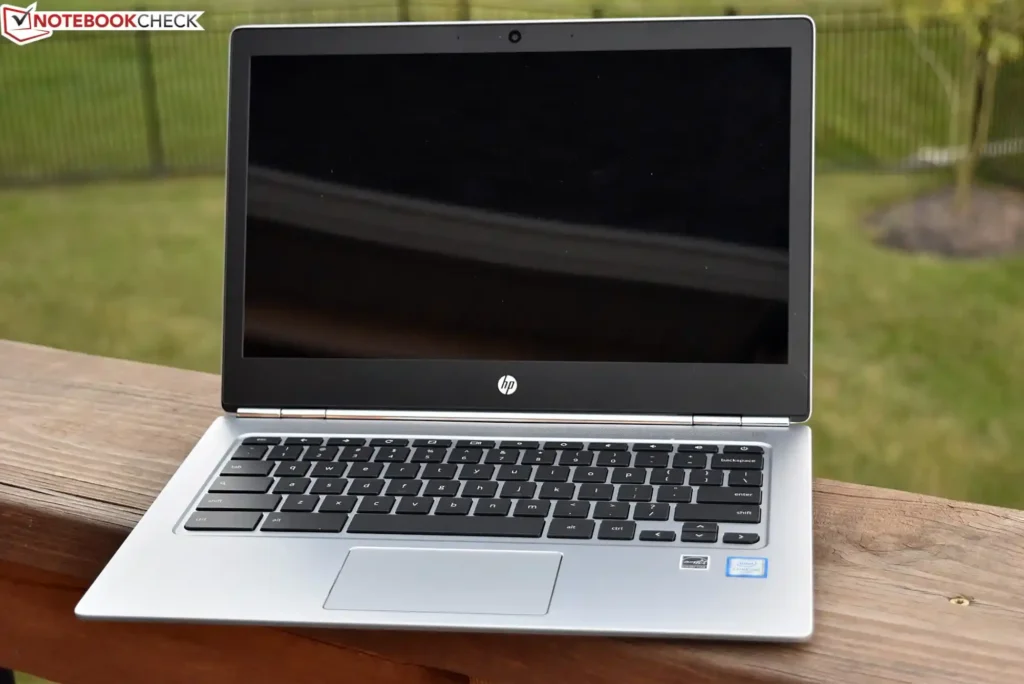
In today’s digital world, the ability to take screenshots is essential, whether for work, education, or personal use. If you own an HP Chromebook laptop, you might be wondering how to efficiently capture screenshots given the differences in its operating system compared to traditional Windows or macOS laptops. This guide will walk you through everything you need to know about taking screenshots on an HP Chromebook, from basic methods to more advanced techniques.
Understanding the Chromebook Keyboard Layout

Before diving into the specific methods for taking screenshots, it’s important to familiarize yourself with the unique keyboard layout on your HP Chromebook. Unlike traditional laptops, Chromebooks have a dedicated Show windows key, which plays a crucial role in capturing screenshots.
Show Windows Key: Located in the top row, typically where the F5 key would be on a standard keyboard, the Show windows key looks like a rectangle with two vertical lines next to it. This key allows you to view all open windows and is integral to taking screenshots.
How to Capture the Entire Screen
Capturing the entire screen is the most basic and commonly used method for taking screenshots. Whether you need to save an image, document, or any other content displayed on your screen, this method ensures you capture everything in view.
Steps to Capture the Entire Screen:
Locate the Keys: Press the Ctrl + Show windows keys simultaneously. Ensure you press them together for the screenshot to be captured.
Confirmation: Your screen will briefly dim to indicate that a screenshot has been taken successfully. A notification will appear in the bottom-right corner of the screen.
Accessing the Screenshot: The screenshot is automatically saved in the “Downloads” folder. You can access it directly from the notification or by opening the “Files” app and navigating to the “Downloads” folder.
Use Cases:
Capturing an entire webpage for reference.
Saving a complete view of a document or presentation.
Recording an error message or system information for troubleshooting purposes.
How to Capture a Specific Window

Sometimes, you may only want to capture a specific window rather than the entire screen. This method is especially useful when you’re working with multiple windows and only need to save the content of one.
Steps to Capture a Specific Window:
Key Combination: Press the Ctrl + Alt + Show windows keys at the same time. This key combination enables the specific window capture mode.
Select the Window: Your cursor will change to a crosshair icon. Move the crosshair over the window you wish to capture, then click to take the screenshot.
Confirmation and Access: The screenshot will be saved in the “Downloads” folder, and you’ll receive a confirmation notification.
Use Cases:
Capturing a single application window, such as a browser tab or a document.
Isolating the content of a pop-up window or dialogue box.
Saving a clean screenshot without the clutter of other open windows.
How to Capture a Selected Area
If you need more control over what part of the screen is captured, the selected area screenshot method is ideal. This allows you to highlight and capture just the portion of the screen you need.
Steps to Capture a Selected Area:
Activate Selection Mode: Press the Ctrl + Shift + Show windows keys together. This will activate the selection mode for screenshots.
Select the Area: Your screen will dim, and the cursor will change into a crosshair. Click and drag the crosshair to outline the area you want to capture.
Capture the Screenshot: Once you have selected the desired area, release the mouse button to capture the screenshot.
Accessing the Screenshot: Like other screenshots, this will be saved in the “Downloads” folder, and a notification will confirm the capture.
Use Cases:
Capturing a specific section of a webpage or document.
Highlighting a particular area of an image or graphic.
Creating a screenshot with precise dimensions for presentations or reports.
Advanced Screenshot Techniques Using a Stylus
For HP Chromebook users with touchscreen capabilities and a stylus, taking screenshots can be even more intuitive. The stylus offers a more hands-on approach to capturing your screen.
Using the Stylus to Capture Screenshots:
Open the Stylus Tools: Tap the stylus icon located in the bottom-right corner of the screen to open the stylus menu.
Select a Capture Option: From the stylus menu, choose either “Capture region” to draw a specific area or “Capture full screen” to take a screenshot of the entire screen.
Draw the Area (If Applicable): If you selected “Capture region,” use the stylus to draw around the area you want to capture.
Save and Access: The screenshot will be automatically saved to the “Downloads” folder, with a notification confirming the action.
Benefits of Using a Stylus:
Greater precision in selecting specific areas.
Easier to capture irregular shapes or specific sections of the screen.
Enhanced user experience for those who prefer a hands-on approach.
Managing and Organizing Your Screenshots
Once you’ve taken your screenshots, it’s essential to know how to manage and organize them effectively. Chromebooks save all screenshots by default in the “Downloads” folder, but you may want to sort them for better accessibility.
Steps to Manage and Organize Screenshots:
Access the Downloads Folder: Open the “Files” app from your app launcher, then navigate to the “Downloads” folder.
Rename Screenshots: Right-click on a screenshot and select “Rename” to give it a more descriptive name. This is useful for organizing screenshots based on content or date.
Move Screenshots: You can create folders within the “Downloads” folder to categorize your screenshots. For example, create folders for “Work,” “Personal,” or “Projects” and move your screenshots accordingly.
Delete Unnecessary Screenshots: To free up space, periodically review your screenshots and delete any that are no longer needed.
Tips for Managing Screenshots:
Regularly back up important screenshots to Google Drive or an external storage device.
Use descriptive names and folders to quickly locate specific screenshots.
Consider using a third-party file management app if you need more advanced organization tools.
Utilizing Third-Party Screenshot Extensions
While Chrome OS offers robust built-in screenshot capabilities, third-party extensions can provide additional features that might be beneficial for advanced users. These extensions can be found and installed from the Chrome Web Store.
Popular Screenshot Extensions for Chrome OS:
Lightshot:
Simple and easy-to-use tool for capturing and editing screenshots.
Offers quick sharing options and cloud storage for your screenshots.
Nimbus Screenshot & Screen Video Recorder:
Provides advanced screenshot options, including full-page captures and video recording.
Includes tools for annotating screenshots, adding text, and blurring sensitive information.
Awesome Screenshot:
Offers both screenshot and screen recording capabilities.
Features advanced annotation tools, including arrows, shapes, and text.
Allows for capturing full web pages, not just the visible portion.
How to Install and Use a Screenshot Extension:
Visit the Chrome Web Store: Open your Chrome browser and go to the Chrome Web Store.
Search for the Extension: Type the name of the desired screenshot extension in the search bar.
Add to Chrome: Click “Add to Chrome” to install the extension. Once installed, it will appear in your Chrome toolbar.
Using the Extension: Click on the extension icon in the toolbar to access its features. Follow the on-screen instructions to capture and edit screenshots according to your needs.
Advantages of Using Extensions:
Access to more advanced screenshot features not available in the built-in tools.
Ability to edit, annotate, and share screenshots directly from the extension.
Enhanced functionality for users who need more than basic screenshot capabilities.
Taking screenshots on an HP Chromebook laptop is an essential skill, whether you’re capturing information for work, sharing content with friends, or documenting important details. With a variety of methods at your disposal—from capturing the entire screen to selecting a specific area or using a stylus—you can tailor your screenshot process to suit your needs. Additionally, third-party extensions offer even more flexibility and functionality for those who require advanced features.


