How to Make Black Lipstick Step by Step for Best
Black lipstick has become one of the boldest beauty statements of recent years. From edgy fashion looks to Halloween makeup, its mysterious appeal has captured the attention of trend lovers everywhere. But instead of spending money on store-bought versions, you can easily make your own at home. Learning how to make black lipstick step by step for best results allows you to create a formula that matches your skin tone, texture preference, and desired finish.
In this complete guide, you’ll discover the process to make smooth, long-lasting black lipstick using safe, natural ingredients. We’ll also share expert How To Make Tips for better consistency, color richness, and wear time.
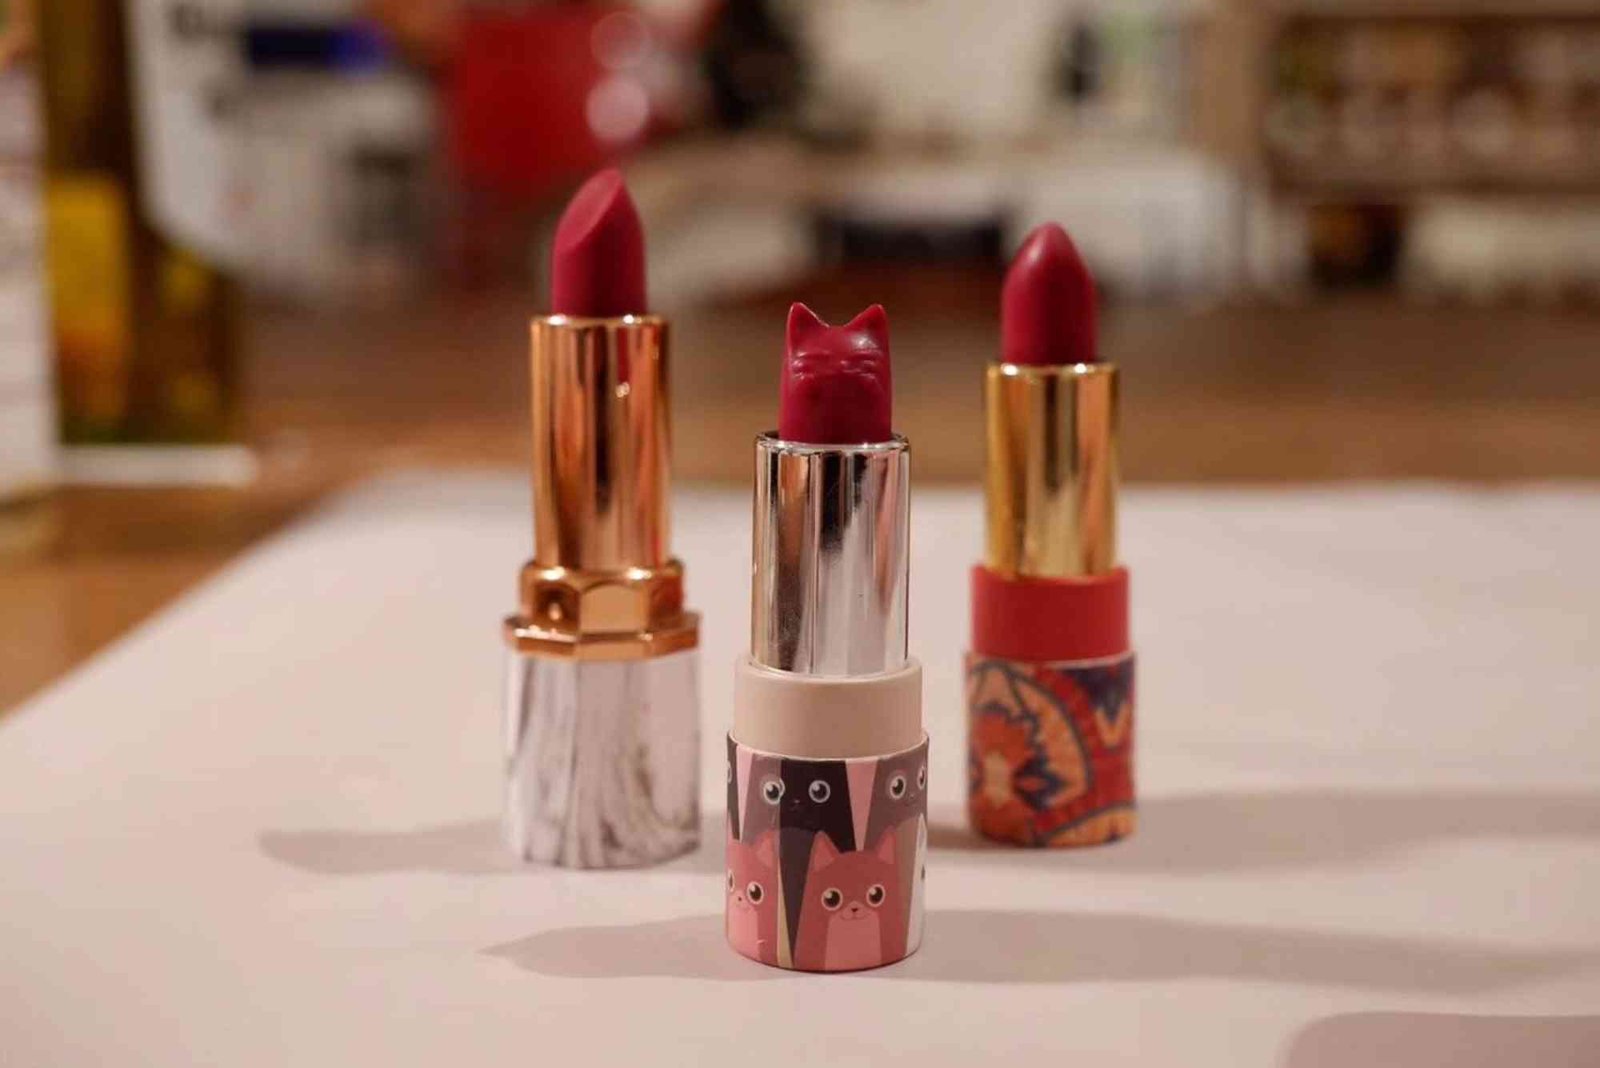
Why Make Black Lipstick at Home
Homemade black lipstick gives you complete control over what goes into your cosmetic products. Store-bought lipsticks often include synthetic dyes and chemicals that may cause dryness or irritation. When you make it yourself, you can choose moisturizing ingredients like shea butter, coconut oil, or beeswax for a soft, creamy texture.
Another reason to learn how to make black lipstick step by step for best results is cost-effectiveness. A few simple ingredients can create multiple lipsticks, allowing you to experiment with different shades of black—matte, glossy, or metallic—without overspending.
Lastly, making your own lipstick ensures you have a product that aligns with your values. You can make it vegan, cruelty-free, or fully organic depending on your ingredient choices.
Ingredients You’ll Need
Before diving into the steps, gather your ingredients. You’ll need:
- Base ingredients: Beeswax, coconut oil, and shea butter (for structure and moisture)
- Pigment: Activated charcoal or black iron oxide (for color)
- Optional ingredients: Vitamin E oil (for longevity), cocoa butter (for shine), or a few drops of essential oil (for scent)
Each ingredient serves a purpose. Beeswax thickens the lipstick, oils add moisture, and pigments create depth. Choosing high-quality ingredients ensures your final lipstick looks professional and feels luxurious.
How to Make Black Lipstick Step by Step for Best Results
Let’s break down the complete process of making black lipstick at home.
Melt the Base Ingredients
Start by combining 1 teaspoon of beeswax, 1 teaspoon of coconut oil, and 1 teaspoon of shea butter in a small heat-resistant bowl. Place the bowl over a pot of boiling water (a double boiler method). Stir continuously until everything melts into a smooth, liquid consistency.
This base mixture forms the foundation of your lipstick. The balance of wax and oils will determine its texture—add more beeswax for firmness or more oil for a glossier finish.
Add the Black Pigment
Once the base has melted, slowly add your chosen black pigment. For a deep matte finish, use ½ teaspoon of activated charcoal. If you prefer a richer, shimmery tone, try black iron oxide. Mix thoroughly to avoid any clumps.
When learning how to make black lipstick step by step for best consistency, ensure the pigment is evenly distributed. Stirring for at least a minute helps achieve that.
Adjust the Color Depth
You can modify the shade by adding small amounts of cocoa powder for warmth or a pinch of mica powder for sparkle. Test a small drop on your wrist to see the shade in natural light. If you want it darker, add more charcoal; if lighter, mix in a tiny bit of red iron oxide or cocoa powder.
Add Vitamin E and Essential Oils
Once you’re happy with the color, remove the mixture from heat and let it cool slightly. Add a few drops of Vitamin E oil to protect your lips and extend shelf life. You may also include 1–2 drops of essential oil such as peppermint or vanilla for fragrance.
Pour and Cool
Carefully pour the mixture into an empty lipstick tube or a small metal tin. Let it cool at room temperature for about an hour or refrigerate for 15 minutes. Once solid, your black lipstick is ready to use.
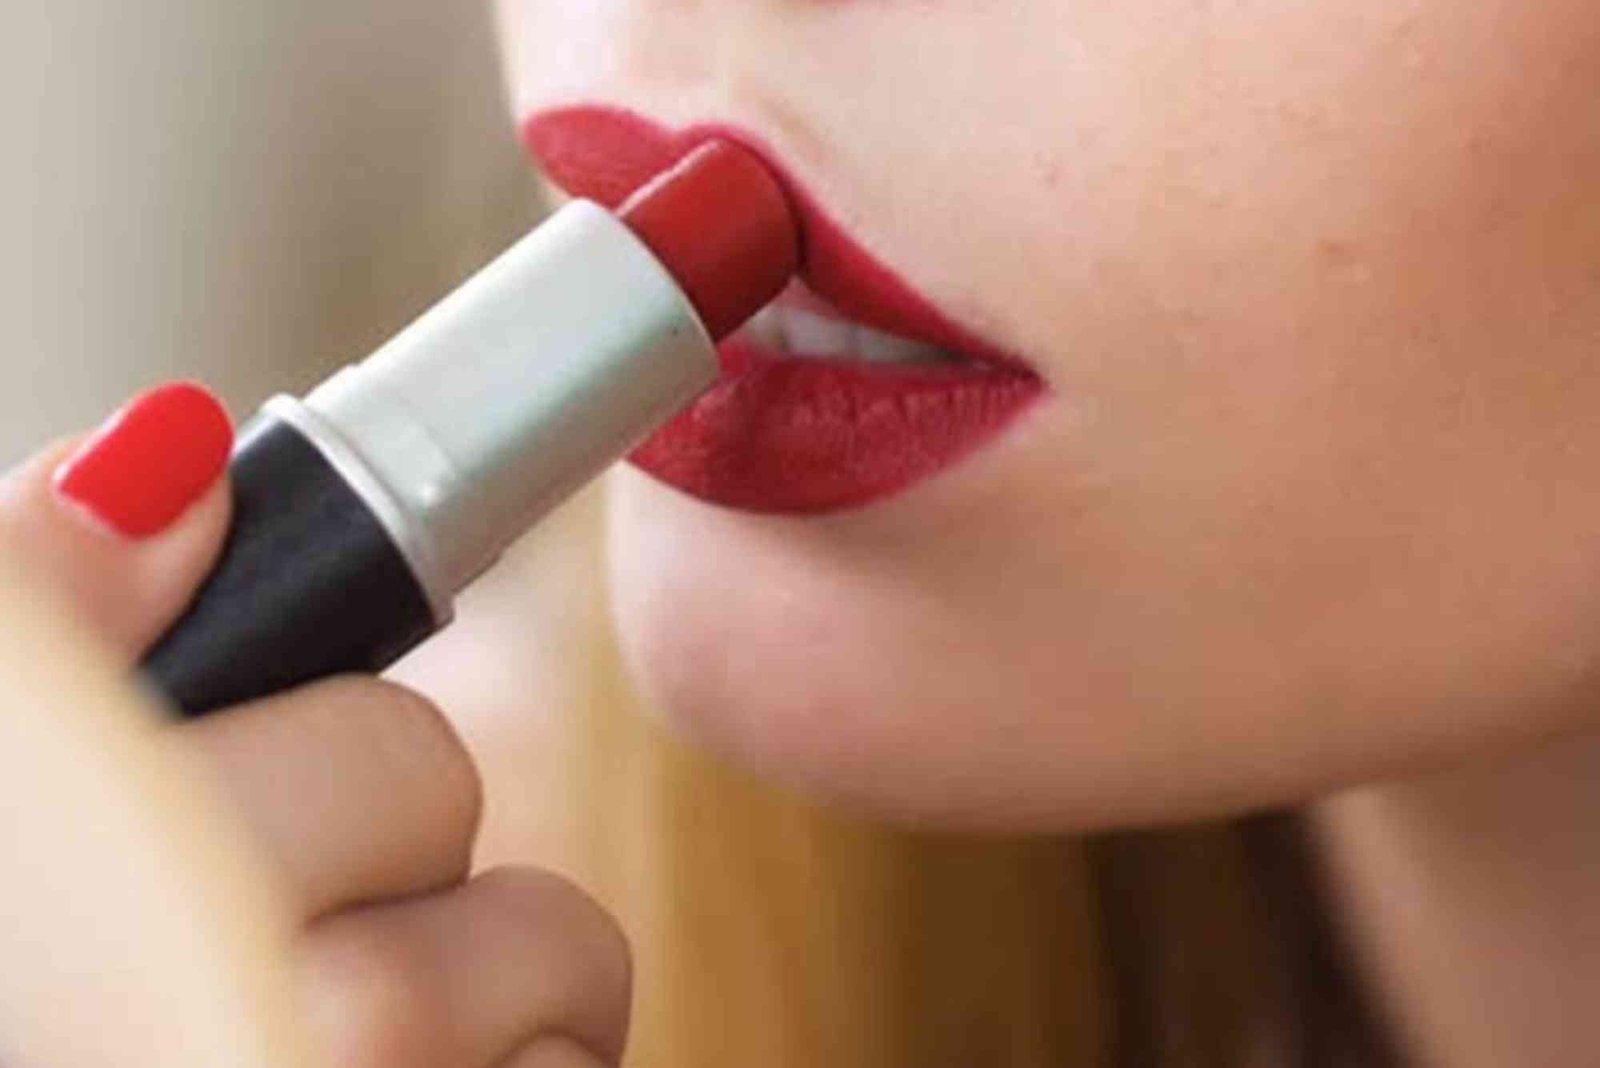
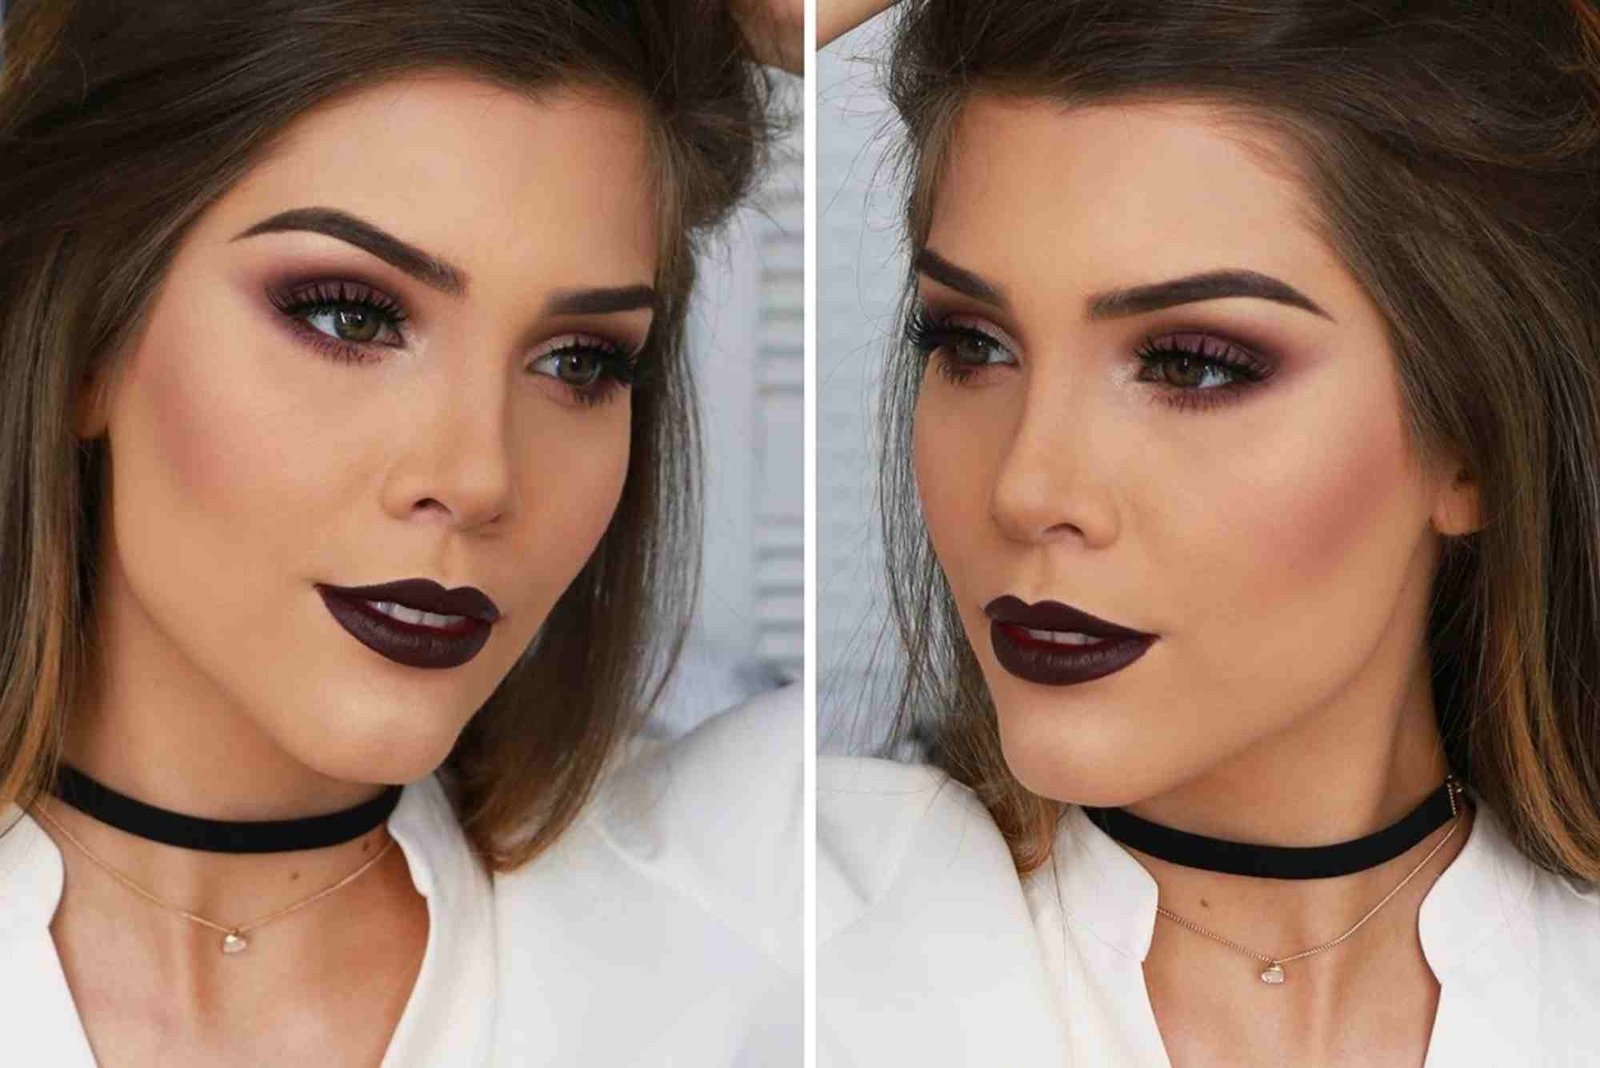
How to Apply Black Lipstick for a Perfect Finish
Knowing how to make black lipstick step by step for best quality is just half the equation—application matters too. Here’s how to achieve a flawless look.
Prep Your Lips
Start by exfoliating your lips using a sugar scrub or a soft toothbrush. Follow up with a hydrating lip balm to create a smooth canvas.
Outline with a Lip Pencil
Using a black or dark brown lip liner, outline your lips carefully. This prevents feathering and gives your lipstick a sharp, professional look.
Apply the Lipstick
Use a lip brush or apply directly from the tube. For a deeper color, add a second coat. Blot gently with tissue to remove excess product.
Set with Powder (Optional)
To make it last longer, place a tissue over your lips and dust translucent powder through it. This technique creates a matte finish and locks the color in place.
How To Make Tips for Long-Lasting Black Lipstick
Getting your DIY lipstick to perform like a store-bought one is possible with a few clever tweaks. Here are expert-approved How To Make Tips:
- Always use cosmetic-grade pigments for safety.
- Add a few drops of castor oil for extra shine and staying power.
- Mix small batches to maintain freshness.
- Clean all your tools to avoid contamination.
- Store the lipstick in a cool, dry place away from sunlight.
For more expert advice, check out this How To Make Black Guide that covers additional formulation techniques and color variations.
Safety and Skin Testing
Before applying your homemade black lipstick to your lips, always perform a patch test. Apply a small amount to the inside of your wrist and wait 24 hours to ensure no allergic reaction. This step ensures that the final product is safe and comfortable for long-term use.
If irritation occurs, avoid using that pigment or oil again. Always choose natural, skin-safe ingredients when experimenting with cosmetic recipes.
Maintaining Your DIY Lipstick
Homemade lipsticks typically last around 3–6 months. Vitamin E helps preserve the oils, but natural products lack the chemical preservatives found in commercial lipsticks. Keep the lid tightly closed and avoid leaving the lipstick in hot environments.
If you notice any change in smell, color, or texture, it’s time to make a fresh batch. The good news is, with this step-by-step guide, creating a new lipstick will take less than 30 minutes.
Benefits of Using Homemade Black Lipstick
Making your own lipstick isn’t just a creative project—it’s a beauty upgrade. You can tailor it to your needs, avoid toxic chemicals, and save money. Moreover, your lipstick will feel more nourishing since it’s rich in natural oils and butters.
Beyond personal use, these lipsticks can even be wonderful handmade gifts or small business products. If you’re interested in beauty entrepreneurship, check out this Related article on barakataldarrepairing.com for inspiration on how DIY skills can grow into a profitable craft.
FAQs
What can I use instead of activated charcoal for black lipstick?
You can use black iron oxide or a blend of dark mica powders for a similar shade. These options provide smoother texture and more depth.
Is black lipstick suitable for all skin tones?
Yes, black lipstick looks stunning on every skin tone when applied correctly. You can adjust undertones by mixing pigments.
Can I make my black lipstick vegan?
Absolutely. Replace beeswax with candelilla wax or carnauba wax for a fully vegan version.
How can I make my lipstick glossy instead of matte?
Add more coconut or castor oil to the mixture to increase shine and create a satin or glossy finish.
How long does homemade lipstick last?
If stored properly, it lasts around 3–6 months. Keeping it refrigerated can extend its shelf life.
Learning how to make black lipstick step by step for best results is simpler than you might think. With just a few natural ingredients, you can create a rich, bold lipstick that rivals any high-end product. Not only will it look amazing, but it will also nourish your lips and give you the freedom to customize your perfect shade.
So, grab your ingredients and start experimenting today. Use this guide as your foundation and elevate your DIY beauty game. For more creative cosmetic tutorials and expert insights, visit the How To Make Tips page to continue your beauty crafting journey.