Introduction
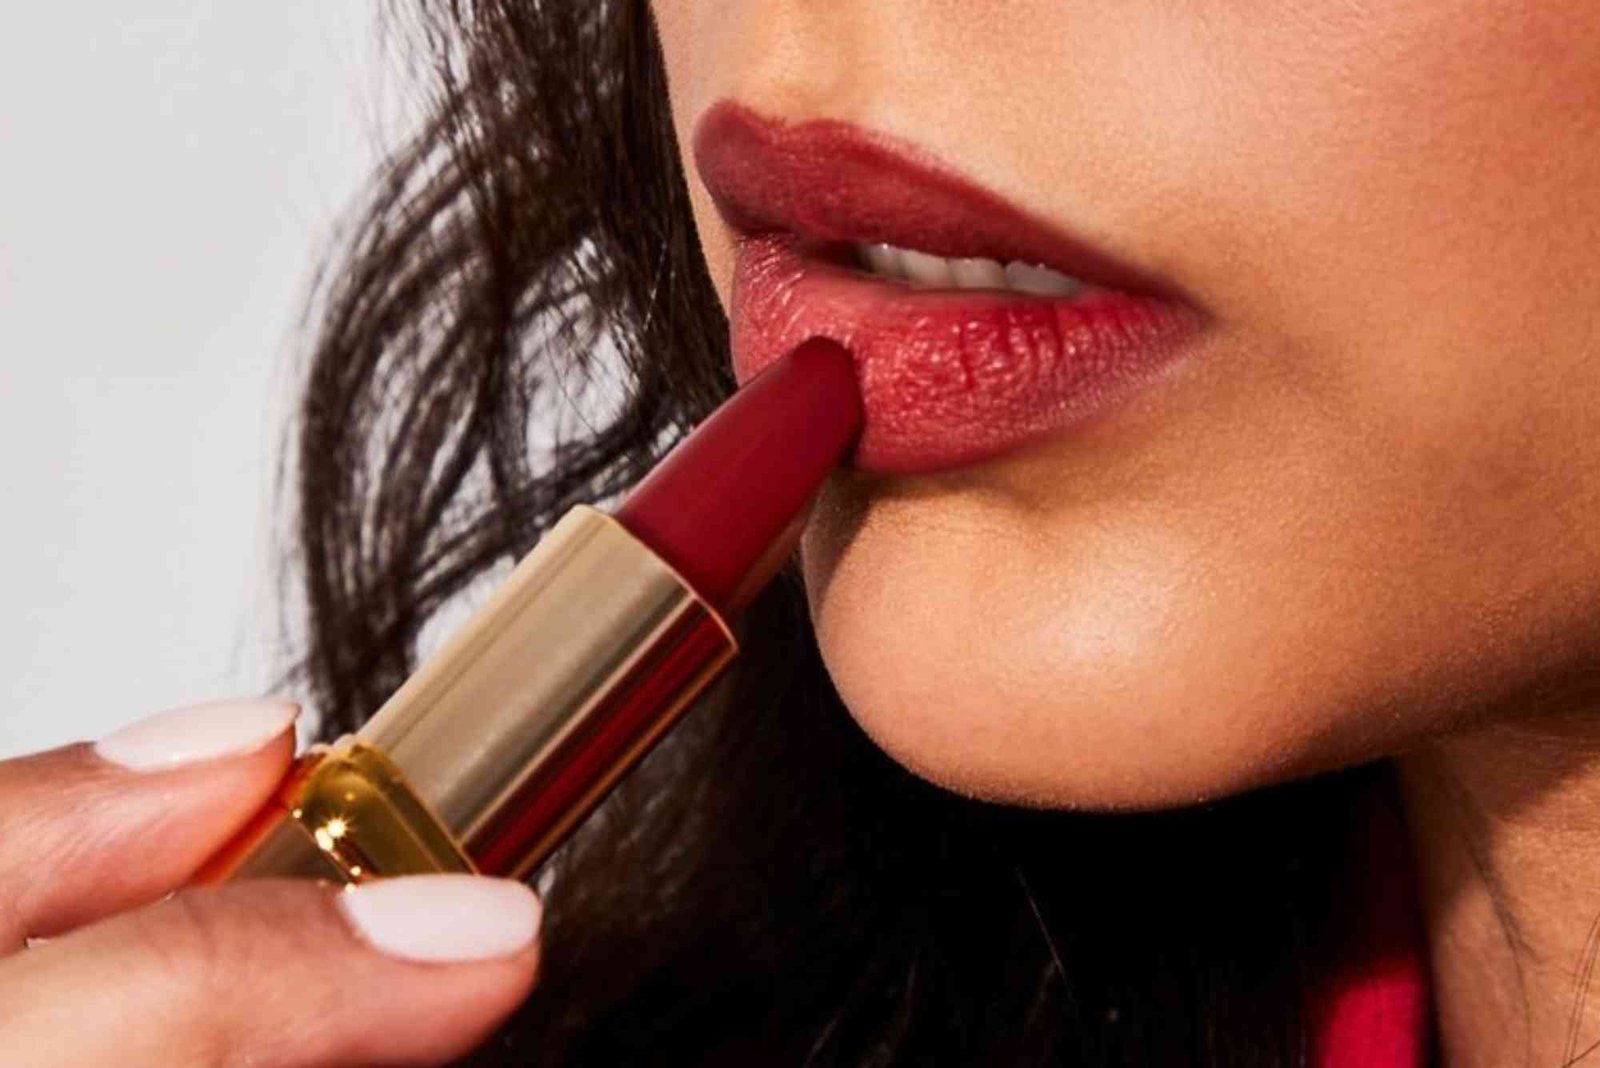
Creating your own lipstick at home is a fun, sustainable, and empowering beauty project. Instead of relying on store-bought products filled with synthetic ingredients, you can customize your own shade, texture, and scent. Whether you’re looking for a natural nude, a bold red, or even a deep black, learning how to make homemade lipstick allows you to craft exactly what suits your style and skin tone.
This guide will walk you through each step — from choosing safe ingredients to adding color and scent — so you can make professional-quality lipstick from your kitchen. With some practical tips and expert advice, you’ll understand how to make lipsticks that look beautiful and feel luxurious.

Why Make Homemade Lipstick
Homemade lipstick gives you full control over what goes on your lips. Many commercial lipsticks contain chemicals like parabens, lead traces, and synthetic dyes that can irritate sensitive skin. By making your own, you ensure every ingredient is safe, nourishing, and environmentally friendly. You can use natural waxes, oils, and colorants that not only give vibrant color but also hydrate your lips.
Making lipstick at home also lets you express creativity. You can mix different pigments, adjust the level of shine or matte finish, and add natural scents like vanilla or peppermint. Plus, it’s cost-effective — once you have the base ingredients, you can make multiple shades for the price of one store-bought lipstick.
Essential Ingredients for Homemade Lipstick
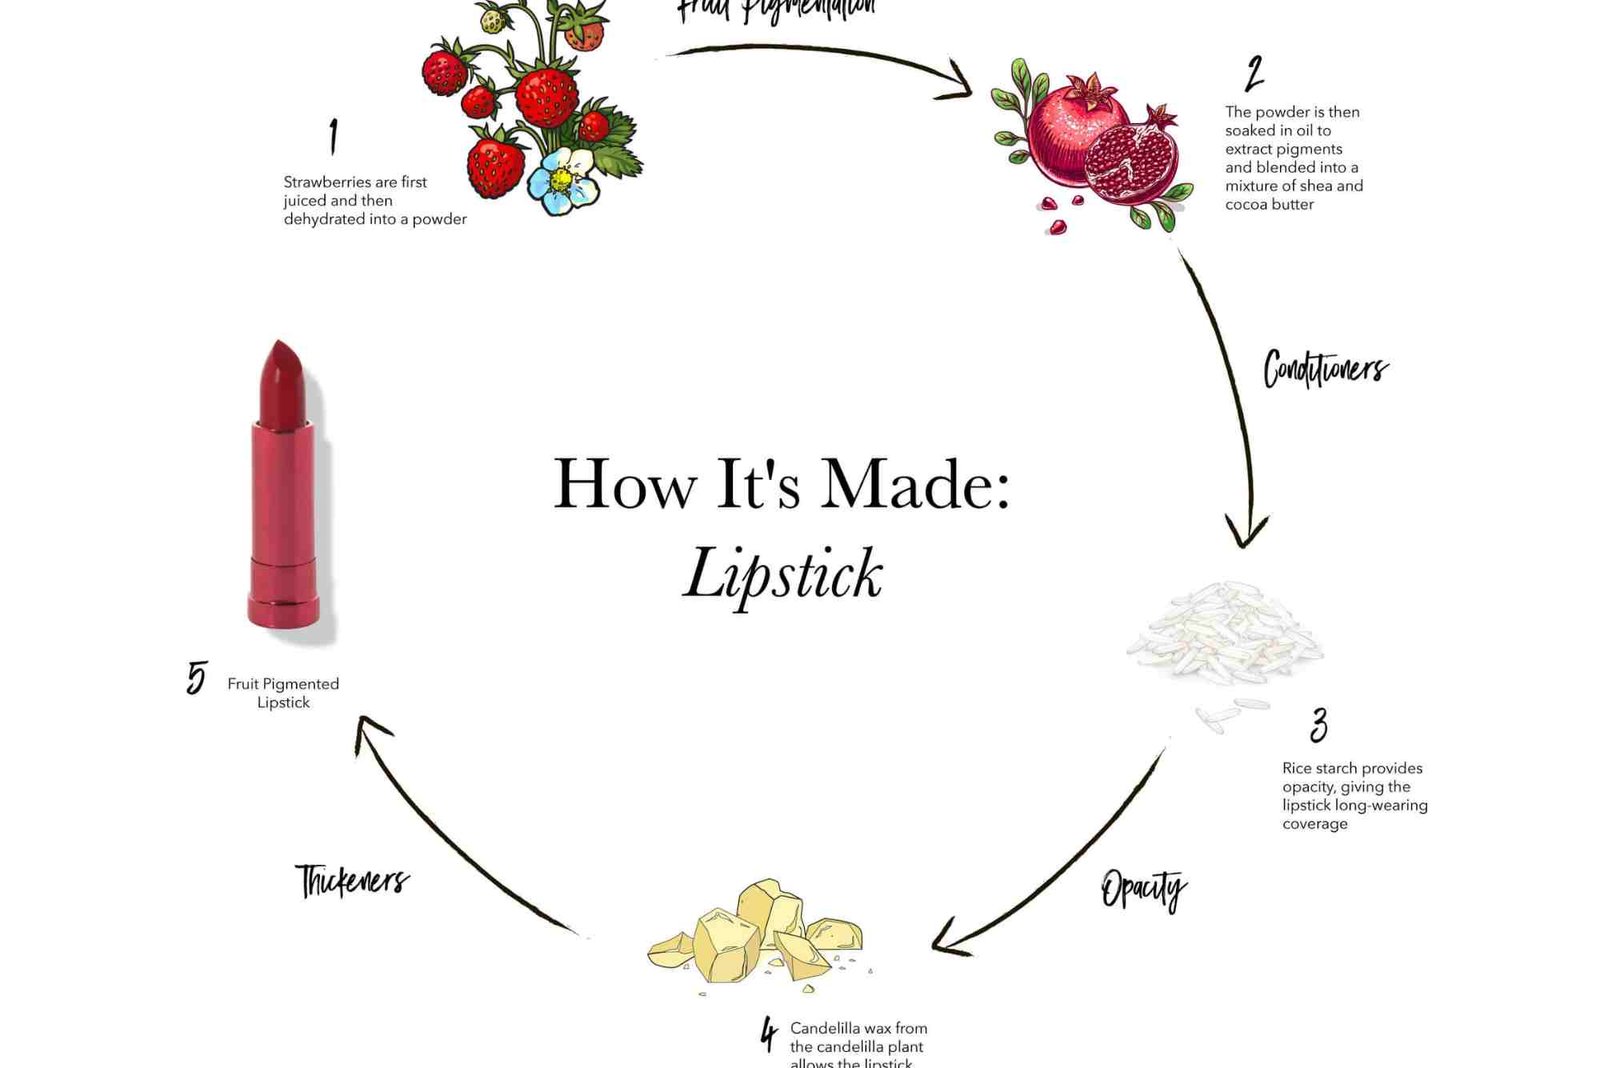
Before starting, gather the core ingredients. Every lipstick recipe starts with a base, a butter, an oil, and a color pigment. Each component has a specific purpose in texture, stability, and color payoff.
Base: Beeswax or Vegan Wax
Beeswax helps your lipstick hold its shape. If you prefer a vegan version, use candelilla wax or carnauba wax. They provide a similar firmness and glossy texture.
Butters: Shea or Cocoa Butter
These add smoothness and hydration. Shea butter gives a creamy texture, while cocoa butter adds firmness and a hint of natural scent.
Oils: Coconut, Castor, or Almond Oil
Oils add shine and help the lipstick glide smoothly. Castor oil gives a glossy finish, while coconut oil offers deep moisture and protection.
Pigments: Natural or Cosmetic-Grade Colorants
For color, you can use natural clays, mica powders, or beetroot powder. You can also use tiny bits of natural mineral pigments for vibrant shades.
Optional Additions
Essential oils such as lavender or peppermint can be used for fragrance. A few drops of Vitamin E oil will extend shelf life and nourish the lips.
How to Make Homemade Lipstick
Here’s the complete method to create your own natural lipstick at home. This process is easy and requires basic kitchen equipment.
Melt the Base Ingredients
Start by placing a tablespoon each of beeswax, butter, and oil in a heatproof bowl. Use a double boiler or microwave in short bursts to melt them gently. Stir continuously until fully blended.
Add Color Pigment
Once melted, add a small amount of your chosen pigment. Mix gradually until you achieve the desired shade. Remember, the color will appear lighter when melted and darken as it cools.
Customize the Formula
Add 1–2 drops of essential oil and a drop of Vitamin E oil for nourishment. Stir again to ensure even mixing. For a shimmery finish, include a pinch of mica powder.
Pour into Containers
Carefully pour the mixture into lipstick molds, small jars, or empty tubes. Let it cool at room temperature for an hour or refrigerate for 15–20 minutes until solidified.
Test and Adjust
Once set, apply the lipstick to test the texture. If it feels too soft, add more wax in the next batch. If it’s too hard, increase the oil or butter ratio.
For a detailed visual guide and more ingredient tips, visit How To Make and explore expert-tested variations.
Pro Tips for Perfect Homemade Lipstick
Experiment with Shades
Blend pigments to create unique tones. For instance, mix red mica with a bit of brown clay for a rich brick-red hue. Natural charcoal gives a bold black tone, perfect for a dramatic look.
Achieve the Right Consistency
If your lipstick feels grainy, it’s likely the butter wasn’t fully melted. Reheat slightly to blend. For a matte effect, reduce the oil quantity or use arrowroot powder.
Maintain Hygiene
Always use clean, dry tools to avoid contamination. Sterilize containers with hot water before pouring the mixture.
Store Properly
Keep homemade lipsticks in a cool, dry place. Since they’re preservative-free, use them within six months for best results.
Expert Advice on Lipstick Customization
Making lipstick at home is not just about mixing ingredients — it’s about understanding formulation. Experts recommend testing small batches to perfect your recipe. Use a lip-safe pigment source, and always check for allergic reactions by applying a patch test before full use.
A beauty chemist’s insight: “Natural oils can separate over time, so blending wax and butter in equal ratio helps maintain texture consistency.” Always label your lipstick shades to remember your favorite formulas for future batches.
To refine your skills and explore more professional techniques, check How To Make Homemade for advanced tutorials and expert recommendations.
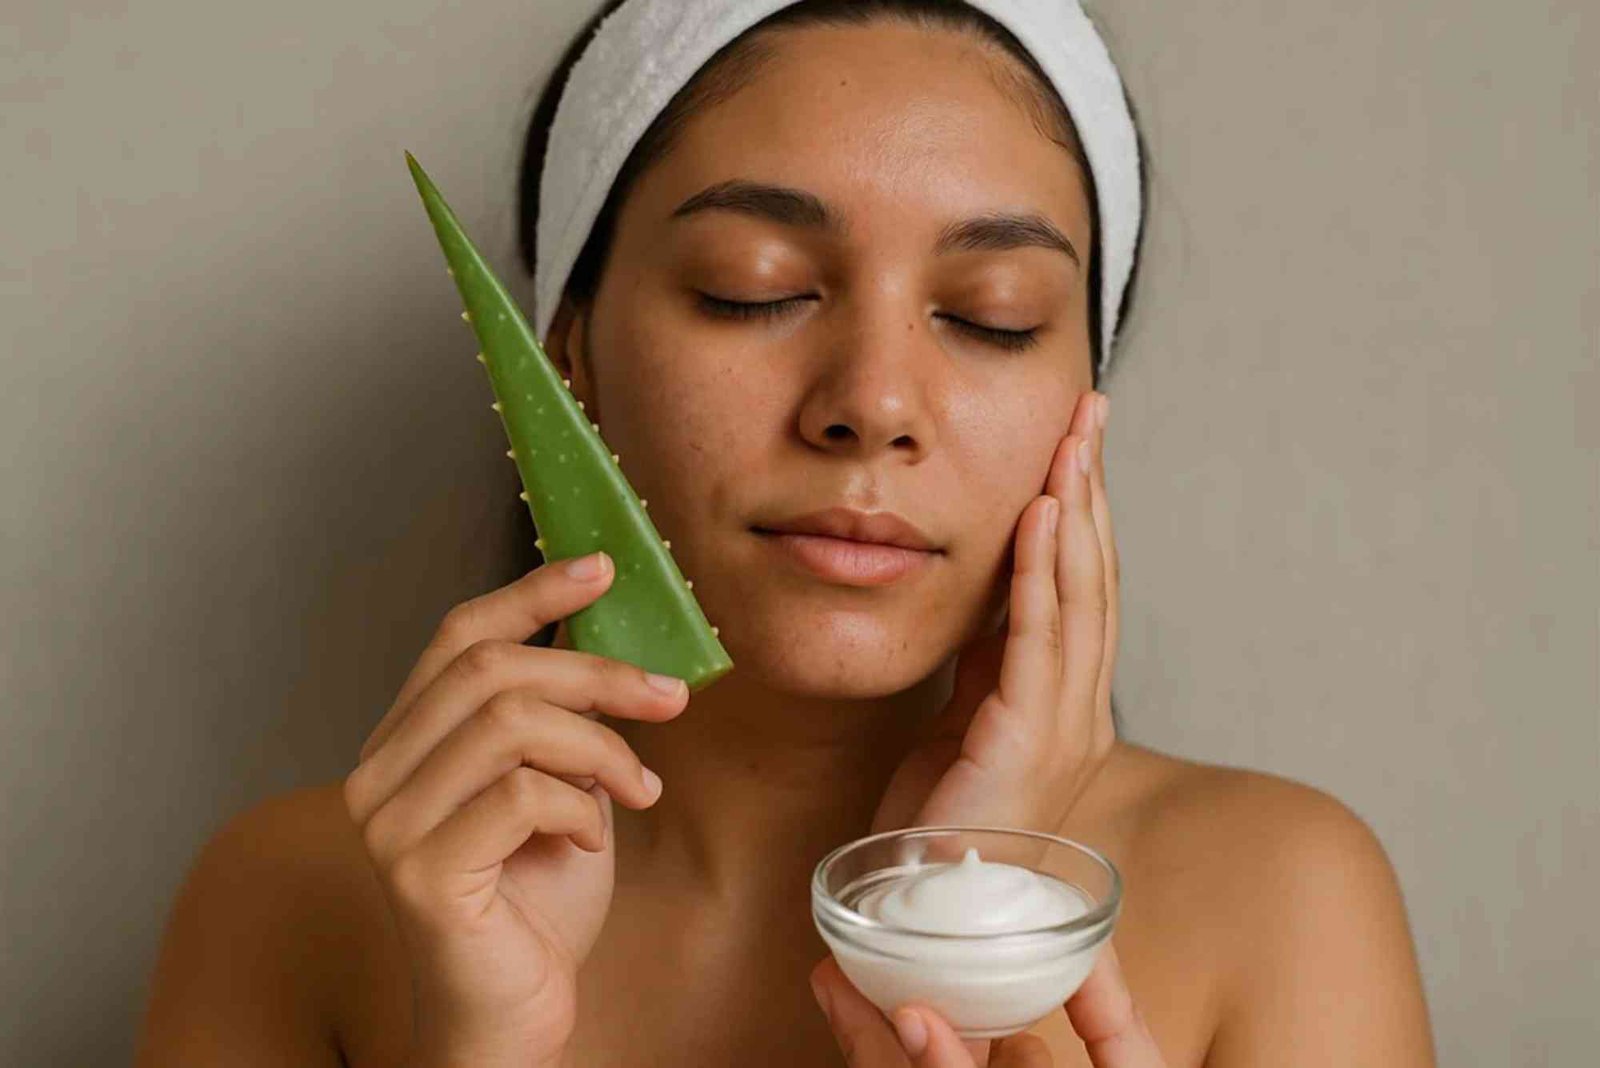
Benefits of Making Your Own Lipstick
Homemade lipstick offers more than just creative satisfaction. It supports eco-conscious beauty routines and promotes healthier skin. You can control every ingredient, eliminating harmful chemicals and microplastics. This practice aligns with sustainable living trends and cruelty-free cosmetics.
You’ll also save money and gain the joy of customization — from subtle nude tones for everyday wear to bold evening shades. Each creation reflects your personal style and ethical choices.
Common Mistakes to Avoid When Making Lipstick
Avoid overheating your mixture — excessive heat can break down the oils and affect texture. Also, don’t add too much pigment; it can make your lipstick dry and uneven. Make sure your wax-to-oil ratio is balanced to prevent crumbling or melting issues. Lastly, never skip testing the shade on your skin before finalizing — natural pigments can look different on lips compared to in the jar.
FAQs
How can I make lipstick last longer on my lips?
Exfoliate your lips before application and apply a light layer of lip balm. Blot with tissue between layers for longer wear.
Can I use food coloring to make lipstick?
It’s better to avoid liquid food colorings because they may not mix well with oils and waxes. Use cosmetic-grade pigments or mica instead.
Is homemade lipstick safe for sensitive skin?
Yes, when made with natural and non-toxic ingredients. Always do a patch test before regular use.
How do I make matte lipstick at home?
Add a small amount of arrowroot or kaolin clay to your recipe. This will absorb excess oil and create a soft matte finish.
Can I make vegan lipstick without beeswax?
Absolutely. Substitute beeswax with candelilla or carnauba wax for a fully vegan formula.
For more inspiration and expert formulations, you can Read more on www.vogue.com about natural beauty trends and DIY cosmetics.
Learning how to make homemade lipstick is a creative and empowering way to express yourself while maintaining a clean beauty routine. With the right ingredients, balance, and creativity, you can produce beautiful, safe, and long-lasting lipsticks tailored just for you.
Whether you’re experimenting for fun or considering turning your hobby into a small business, this process blends science and artistry perfectly.