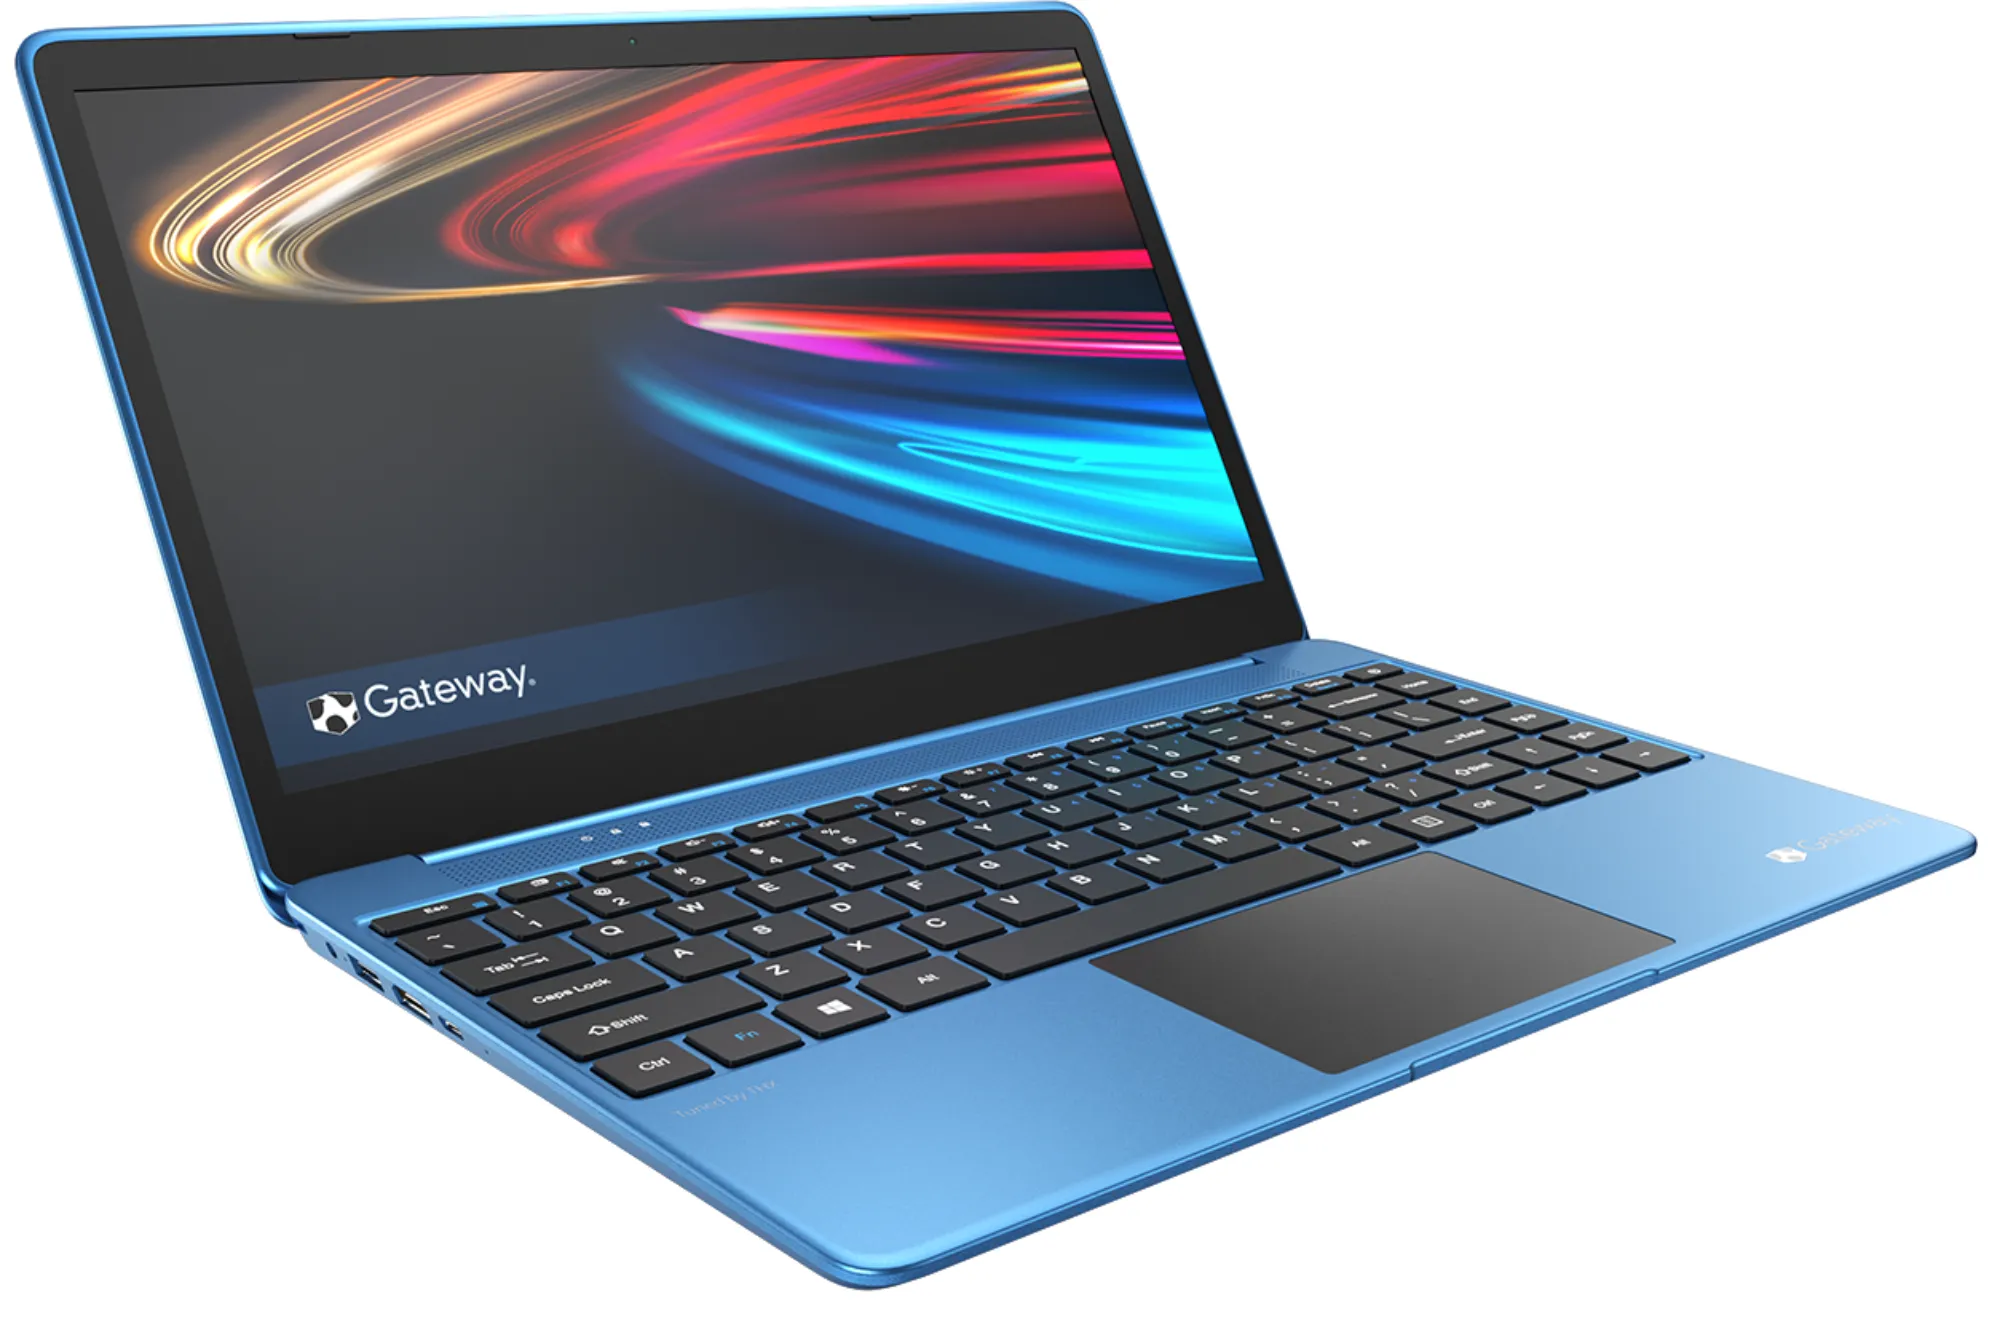
Capturing screenshots on your Gateway laptop can be a valuable skill for a variety of tasks, from saving important information to sharing details with others. This comprehensive guide will walk you through several methods for taking screenshots, including using keyboard shortcuts, built-in tools, and additional software. Whether you’re a beginner or a seasoned user, this guide will help you master the art of screenshotting on your Gateway laptop.
Screenshots

Screenshots are digital images that capture the content displayed on your screen. They are useful for a variety of purposes, including documentation, communication, and problem-solving. Understanding how to take a screenshot effectively can save time and enhance your productivity.
Using the Print Screen Key
The Print Screen key is one of the most straightforward methods for capturing screenshots on your Gateway laptop. This key is often labeled as PrtSc, PrtScn, or Print Screen.
Full-Screen Screenshot
Locate the Print Screen Key: Find the PrtSc key on your keyboard. It is typically located near the top-right corner, often sharing a key with SysRq or Scroll Lock.
Press the Print Screen Key: Simply press PrtSc to capture the entire screen. This action copies the screenshot to your clipboard.
Paste the Screenshot: Open an image editor (such as Microsoft Paint) or a word processor (like Microsoft Word). Press Ctrl + V to paste the screenshot. Save the file by selecting “File” > “Save As” and choose your desired format (e.g., PNG, JPEG).
Active Window Screenshot
Focus on the Window: Click on the window you want to capture to make sure it’s active.
Press Alt + PrtSc: This key combination captures only the currently active window and copies it to your clipboard.
Paste the Screenshot: Open an image editor or word processor and paste the screenshot using Ctrl + V. Save your file by selecting “File” > “Save As.”
Using Snipping Tool

Windows includes a built-in tool called Snipping Tool, which provides more control over your screenshots.
Opening Snipping Tool
Search for Snipping Tool: Click on the Start menu and type “Snipping Tool” into the search bar.
Open the Tool: Click on the Snipping Tool application from the search results.
Taking a Screenshot
Select New: In the Snipping Tool window, click on the “New” button.
Choose the Snip Type: You can select from Free-form, Rectangular, Window, or Full-screen snips. Each option allows you to capture different parts of your screen.
Free-form Snip: Draw a free-form shape around the area you want to capture.
Rectangular Snip: Drag to form a rectangle around the desired area.
Window Snip: Capture a specific window by selecting it from the available options.
Full-screen Snip: Capture the entire screen.
Saving and Editing
Save Your Snip: Once you capture the screenshot, the Snipping Tool window will show your snip. Click on “File” > “Save As” to choose the location and file format for saving your image.
Edit if Needed: Use the available tools in Snipping Tool to annotate or highlight areas of your screenshot before saving.
Using Snip & Sketch
Snip & Sketch is a more modern tool available in Windows 10 and later versions that allows for quick and easy screenshot capturing and annotation.
Accessing Snip & Sketch
Search for Snip & Sketch: Click on the Start menu and type “Snip & Sketch” into the search bar.
Open the Application: Select Snip & Sketch from the search results.
Capturing a Screenshot
Click on New: In the Snip & Sketch window, click on the “New” button.
Select the Area: You can choose from rectangular or free-form snips. Draw around the area you want to capture or select the snip type as prompted.
Annotating and Saving
Annotate Your Screenshot: Use the tools provided in Snip & Sketch to draw, highlight, or add text to your screenshot.
Save Your Image: Click on the save icon or go to “File” > “Save As” to choose a file name, format, and location for your screenshot.
Using the Windows Key + Shift + S Shortcut
The Windows Key + Shift + S shortcut provides a quick way to take screenshots and is available in Windows 10 and later versions.
Initiating the Screenshot Tool
Press Windows Key + Shift + S: This keyboard shortcut will darken your screen and display a snipping toolbar at the top of the screen.
Capturing and Saving
Select the Area: Choose from rectangular, free-form, window, or full-screen snips using the toolbar.
Paste or Save: The screenshot is copied to your clipboard. Open an image editor or word processor and paste the screenshot using Ctrl + V. Save the file as needed.
Additional Screenshot Tools
If you require more advanced features, consider using third-party screenshot tools. Here are a few popular options:
Lightshot
Features: Easy-to-use interface, quick editing tools, and direct upload options.
Download: Available for free from the Lightshot website.
Greenshot
Features: Customizable screenshot options, built-in image editor, and support for multiple formats.
Download: Available for free from the Greenshot website.
ShareX
Features: Advanced screenshot and screen recording options, customizable workflows, and extensive editing tools.
Download: Available for free from the ShareX website.
Troubleshooting Common Issues
Print Screen Key Not Working
Check Key Functionality: Ensure that the PrtSc key is functioning properly and not stuck.
Update Drivers: Verify that your keyboard drivers are up-to-date.
Check for Software Conflicts: Some applications may override the Print Screen function.
Screenshot Tools Not Opening
Restart Your Computer: Sometimes, a simple restart can resolve issues with built-in tools.
Update Windows: Make sure your Windows operating system is updated to the latest version.
Reinstall the Tool: If Snipping Tool or Snip & Sketch is not working, try reinstalling or resetting the application.
Knowing how to take screenshots on your Gateway laptop is an essential skill for various tasks, from capturing important information to sharing content with others. Whether you use the Print Screen key, Snipping Tool, Snip & Sketch, or additional third-party tools, you have multiple options to choose from. By following this comprehensive guide, you’ll be able to capture, annotate, and save screenshots effectively, enhancing your overall productivity and communication.


