Introduction
Creating your own lipstick at home can be one of the most satisfying beauty DIYs. Not only do you get to choose your favorite shades, but you also control every ingredient that goes into it. In this guide, you’ll learn how to make homemade lipstick step by step using safe, natural, and nourishing materials that leave your lips soft, colorful, and chemical-free. Whether you want a bold red, soft nude, or a rosy tint, this simple method will help you craft the perfect lipstick tailored to your taste.
Why Make Your Own Lipstick
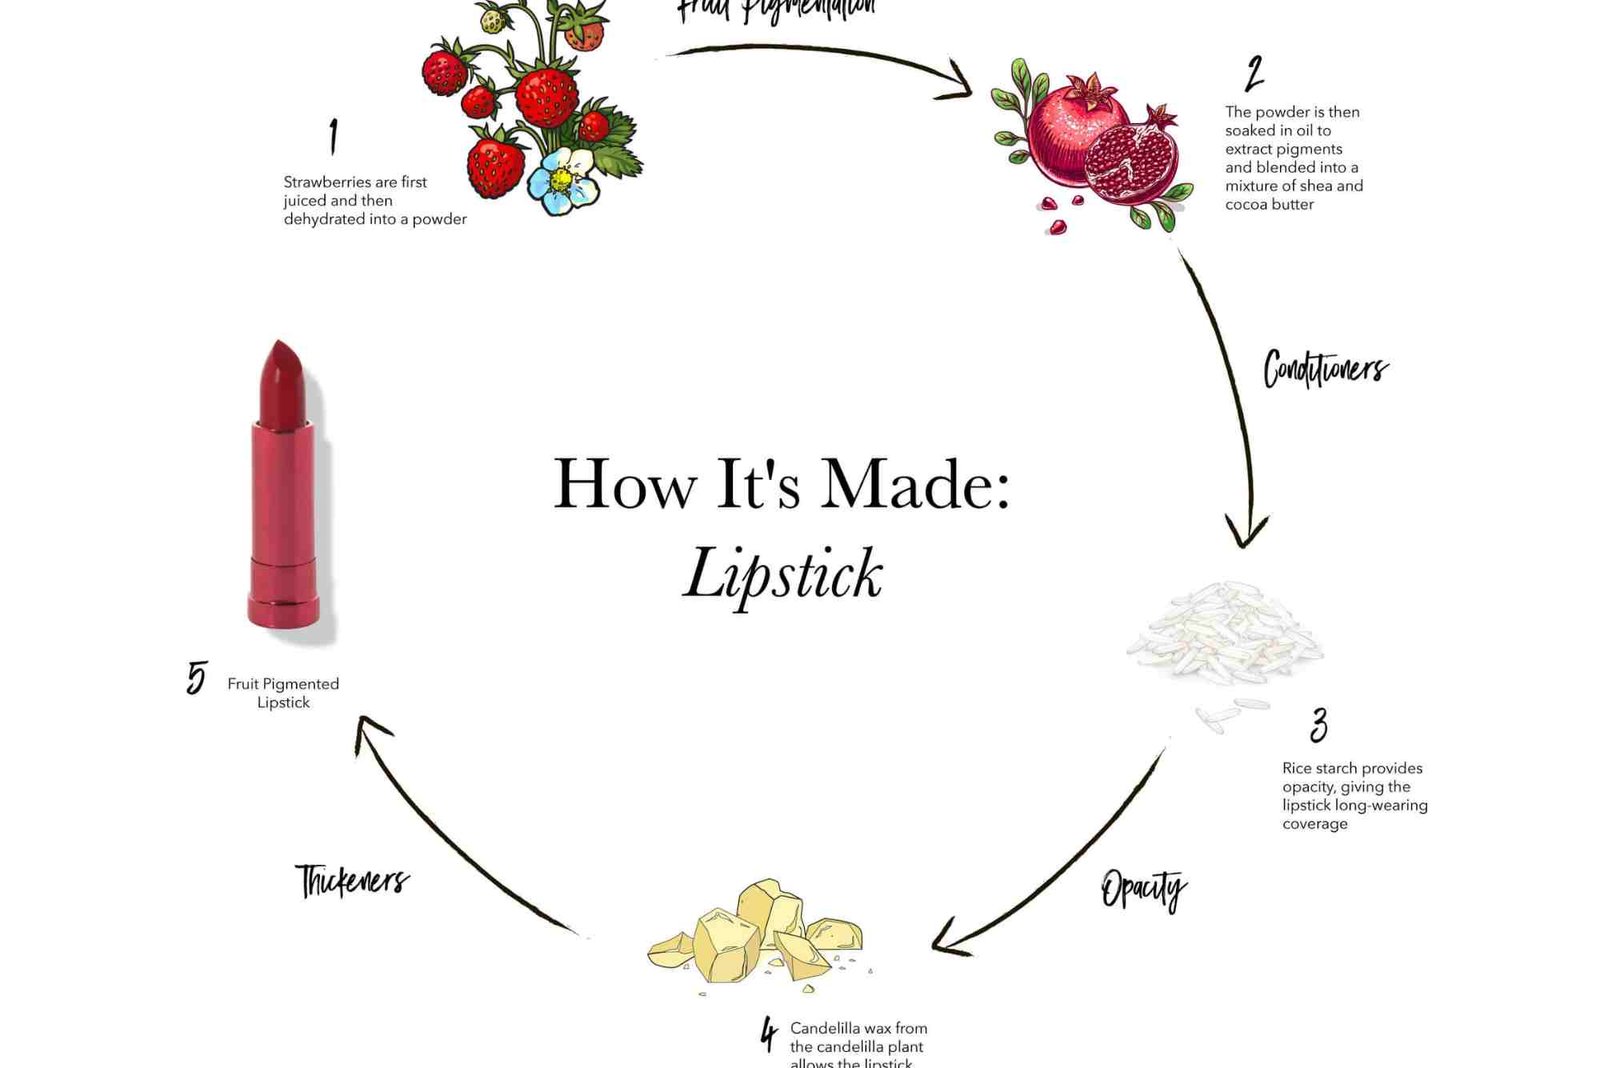
Homemade lipstick offers a range of benefits beyond cost savings. When you create your own formula, you can avoid harsh chemicals like parabens, synthetic dyes, and artificial fragrances commonly found in commercial products. Instead, you can rely on nourishing ingredients such as beeswax, shea butter, and natural color pigments. These elements not only provide beautiful color but also protect and hydrate your lips.
Another advantage is customization. You can mix and match colors, adjust the texture, and even add essential oils for scent and added benefits. It’s eco-friendly, cruelty-free, and a great way to express your creativity while maintaining healthy, hydrated lips.
Ingredients You’ll Need
Before you begin, gather a few essential ingredients. These natural elements form the base and color of your lipstick.
Base Ingredients
-
Beeswax pellets: For structure and firmness.
-
Shea butter or cocoa butter: For a creamy texture and moisture.
-
Coconut oil or almond oil: To add shine and smoothness.
Color Options
You can use natural sources for color:
-
Beetroot powder: For a reddish-pink tone.
-
Cocoa powder: For a brown or nude shade.
-
Mica powder: For shimmer and sparkle.
-
Activated charcoal: For deep plum or darker hues.
Optional Add-ins
-
Vitamin E oil: To preserve and nourish.
-
Essential oils (peppermint, vanilla, lavender): For scent and flavor.
How to Make Homemade Lipstick
Here’s how to make homemade lipstick step by step for professional-quality results at home.
Prepare Your Work Area
Start by cleaning your workspace thoroughly. Sanitize your mixing bowls, spoons, and containers to ensure hygiene. You can use small heat-resistant bowls or glass jars. This step prevents contamination and ensures your lipstick remains safe to use.
Melt the Base Ingredients
In a heatproof bowl, combine one teaspoon of beeswax pellets, one teaspoon of shea butter, and one teaspoon of coconut oil. Place the bowl over a pot of simmering water to create a double boiler. Stir gently until the mixture melts completely and blends into a smooth liquid. The beeswax provides firmness, while the butter and oil deliver softness and hydration.
Add Natural Color
Once your base is melted, it’s time to add color. Start with a small amount of your chosen pigment, such as beetroot powder or mica. Stir thoroughly until the color is evenly distributed. You can test the color by dabbing a small amount on your wrist — remember that it may look slightly different when it solidifies. Adjust the pigment as needed to achieve your desired intensity.
Customize the Formula
At this stage, add your optional ingredients. Vitamin E oil enhances the shelf life and provides antioxidant benefits. A few drops of your favorite essential oil can also elevate the scent and give your lipstick a pleasant flavor. For instance, peppermint essential oil gives a cooling effect, while vanilla adds a warm, sweet aroma.
Pour into a Container
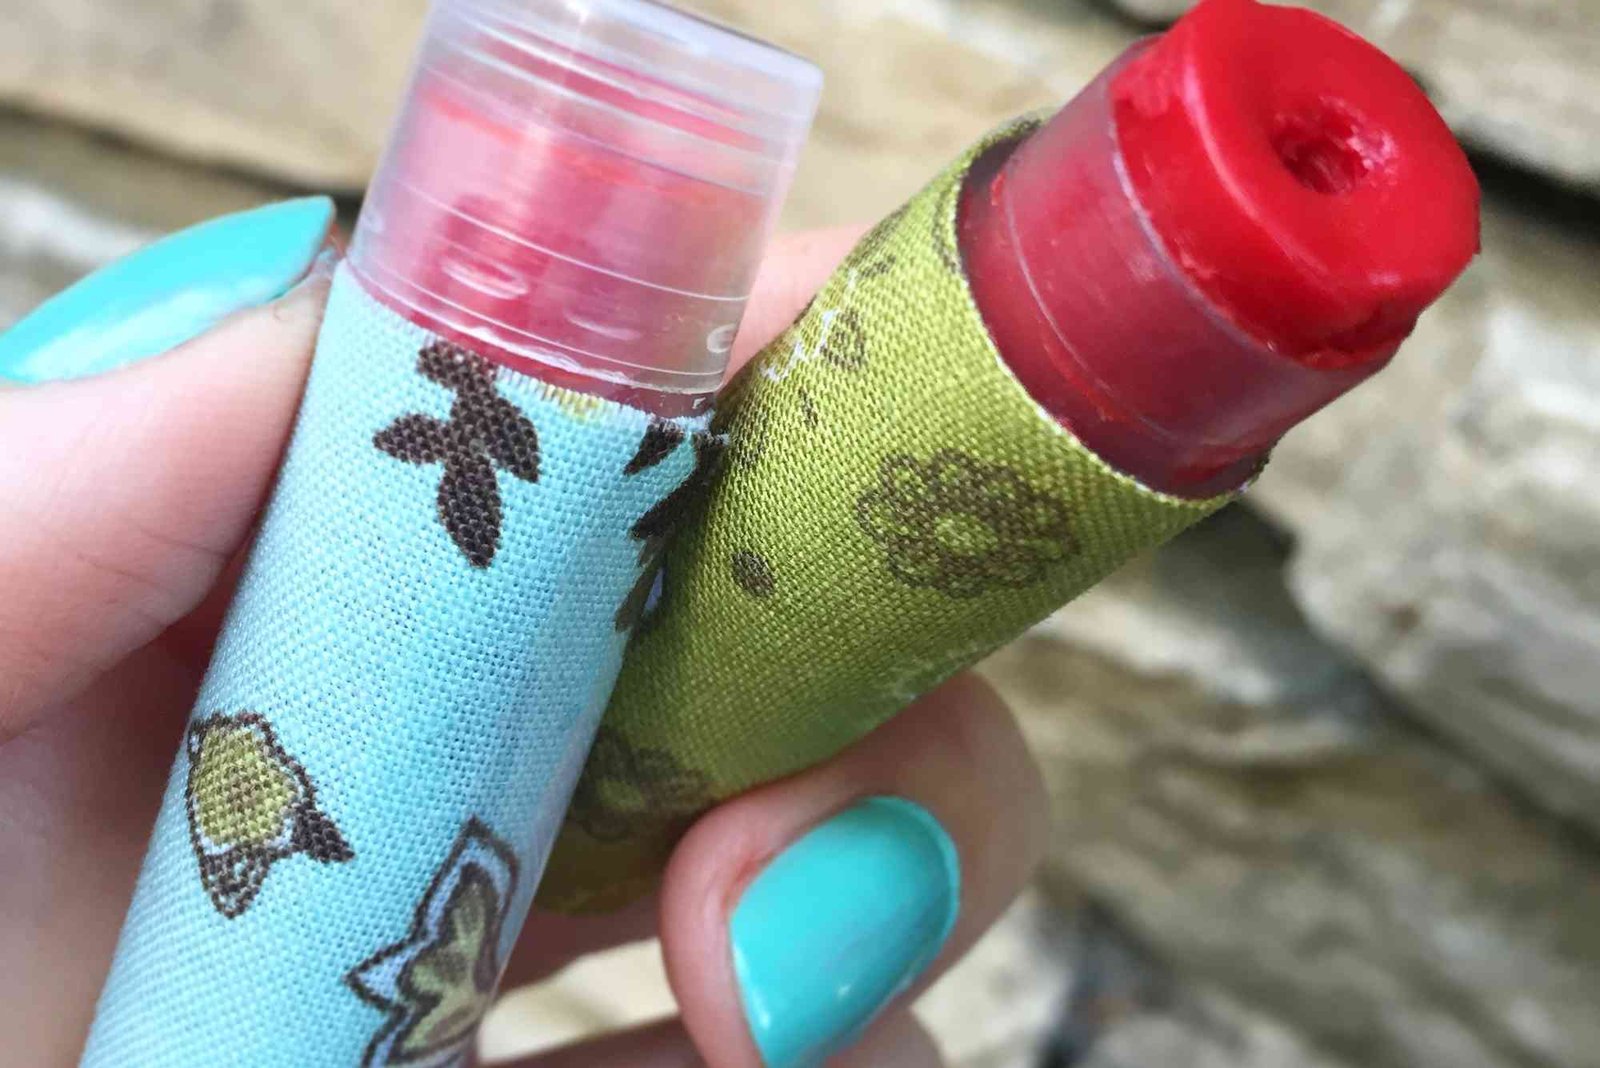
Once your blend is ready, carefully pour it into a lipstick mold or a small lip balm tin. If using a lipstick tube, make sure it’s clean and dry. Allow the mixture to cool at room temperature or refrigerate it for about 30 minutes until it hardens. Avoid touching the surface until it’s fully set.
Test and Adjust
After the lipstick has cooled completely, test it on your lips. If it feels too hard, melt it again and add a few drops of oil to soften it. If it’s too soft, add more beeswax for firmness. This flexibility lets you create a texture that matches your personal preference.
Store and Use
Store your homemade lipstick in a cool, dry place. Because it contains natural ingredients without preservatives, it’s best to use it within six months. If you notice any change in scent or texture, make a fresh batch.
Tips for Perfect Homemade Lipstick
To achieve the best results, keep these practical tips in mind.
-
Always use a double boiler to melt ingredients safely without burning.
-
Avoid adding too much color pigment at once — build gradually.
-
Mix thoroughly for a smooth, even consistency.
-
Experiment with different oils for varied shine and texture.
-
Use sterilized containers to maintain product quality.
You can also explore this How To Make Tips resource for more detailed insights into customizing homemade cosmetics.
Benefits of Homemade Lipstick
Homemade lipstick doesn’t just offer color — it enhances lip health too. Let’s explore the main benefits.
Natural Ingredients
When you use natural waxes, butters, and oils, you nourish your lips deeply. These ingredients form a protective layer, preventing moisture loss and keeping your lips soft.
Customization
You can create any color or finish you like — matte, glossy, or shimmery. This makes it easier to match your lipstick to your mood, outfit, or season.
Cost-Effective
A few simple ingredients can produce multiple batches, saving you money over time while giving you endless creative options.
Eco-Friendly
By avoiding plastic packaging and synthetic chemicals, you contribute to a more sustainable beauty routine.
Health Benefits
Since you control what goes into the formula, you can eliminate allergens and toxic substances, ensuring your lipstick is safe even if accidentally ingested.
How to Add Shimmer and Shine Naturally
If you prefer a glossy finish, adding natural mica powder or a touch of castor oil can create a radiant sheen. You can also melt a bit of shea butter or cocoa butter for extra smoothness. For shimmer, opt for cosmetic-grade mica that’s safe for lips.
How to Make Lip Tint Variation
You can also turn your lipstick formula into a lip tint by adjusting the ratio of ingredients. Reduce the amount of beeswax and increase the oil slightly for a more fluid texture. This works great for achieving a light, natural look.
Common Mistakes to Avoid
While making lipstick at home is simple, beginners can make a few mistakes. Avoid overheating ingredients, which can change their texture and scent. Don’t skip testing the color before pouring it into molds. And never add food coloring, as it’s not formulated for lip-safe cosmetics.
Embrace Natural Beauty
Learning how to make homemade lipstick step by step empowers you to embrace clean beauty and creativity. You’ll know exactly what’s touching your skin, enjoy customized shades, and contribute to a more eco-conscious lifestyle. Making lipstick at home is not just a craft—it’s an art form that blends science, care, and self-expression.
Whether you’re experimenting for fun or looking to start a small business, the satisfaction of creating your own lip color is unbeatable. For additional inspiration and formulation details, check out this How To Make Homemade Guide. You can also explore a Related article on thejvc.ae for more natural beauty DIYs and expert tips. Ready to create your first lipstick shade? Gather your ingredients today and follow these steps to craft a natural, beautiful, and personalized lip color that’s uniquely yours. Share your results and favorite recipes in the comments — your creativity might inspire others to go natural too!
FAQs
What ingredients are safe for homemade lipstick?
Beeswax, shea butter, coconut oil, and natural color powders like mica or beetroot powder are all safe and effective for making lipstick at home.
How long does homemade lipstick last?
Homemade lipstick usually lasts about six months if stored in a cool, dry place. Adding Vitamin E oil can extend its shelf life.
Can I use crayons to make lipstick?
While some DIY tutorials suggest crayons, it’s better to avoid them. Crayons are not made for cosmetic use and can contain unsafe pigments. Stick to natural colorants instead.
How can I make my lipstick more pigmented?
To increase color intensity, add more natural pigment powder, such as beetroot or mica, and mix thoroughly until you achieve your desired shade.
Is homemade lipstick safe for daily use?
Yes, if made with clean, natural ingredients, homemade lipstick is safe for everyday use. Always perform a patch test before applying it fully.

